4 Food Photography Tips
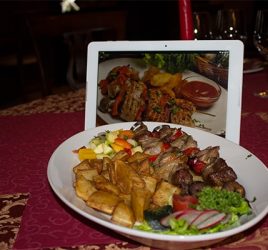
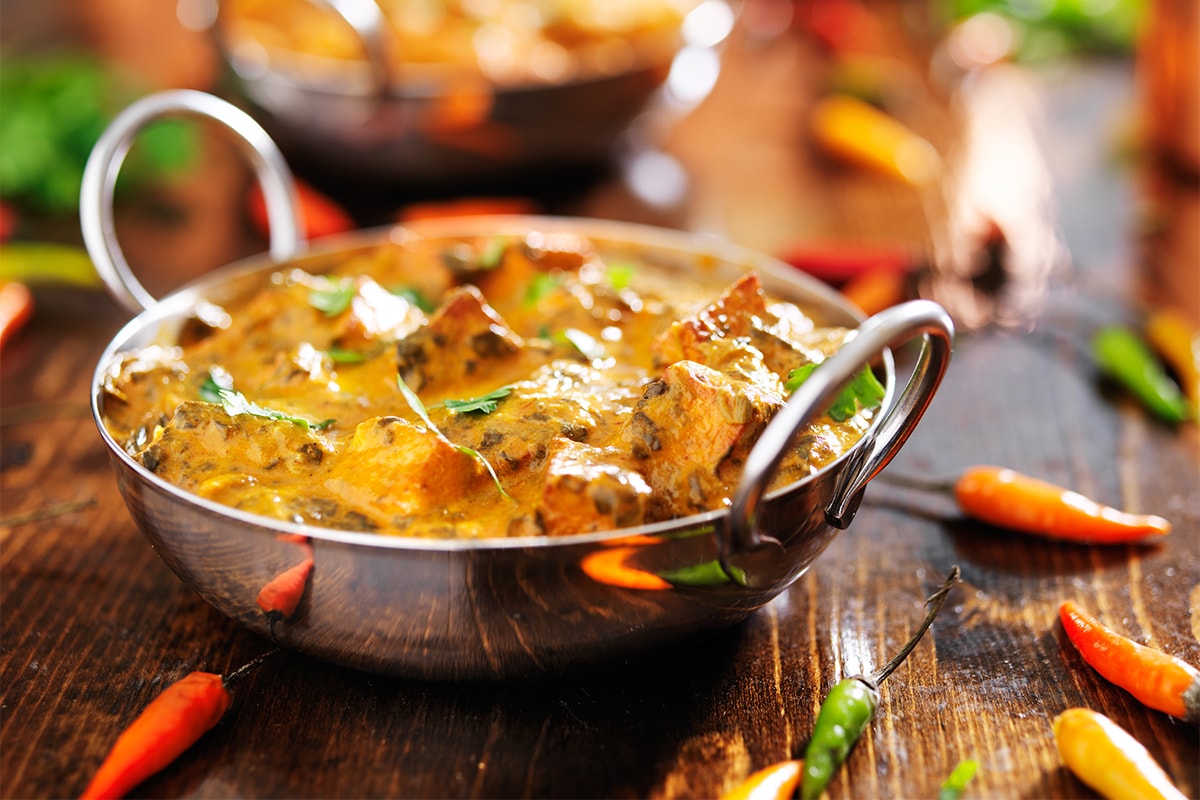
Every day, while surfing on social networks, we run into at least one photograph of a meal published by our favorite restaurant or food blogger. The first thing that happens is that we get hungry because the food on those photographs always looks so delicious that no other reaction is possible. And it has occurred to us at least once: ‘Next time when I eat lunch, I’ll also take a photo of it and post it so everyone will like it.’ But it is not so easy to take good photos of food.
Since one of the main features of our digital menu is precisely the display of food photographs to the guests of a restaurant, our clients often ask us for advice on how to take good photos, so we have decided to share a few good tips. In order to get the best tips, we contacted our longtime associate, Nina Đurđević, a professional photographer who says that a photograph has to present food as attractive, tasty and fresh – the more positive effect it has, the better.
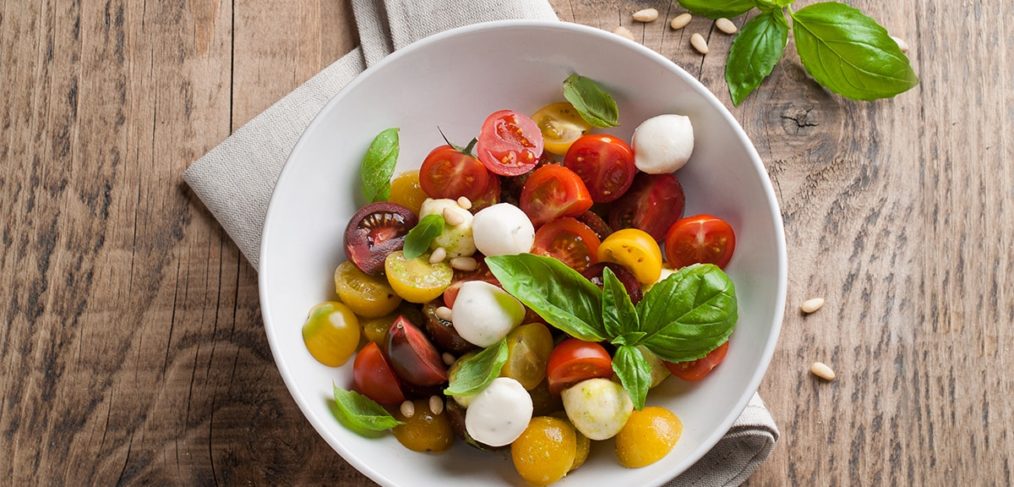
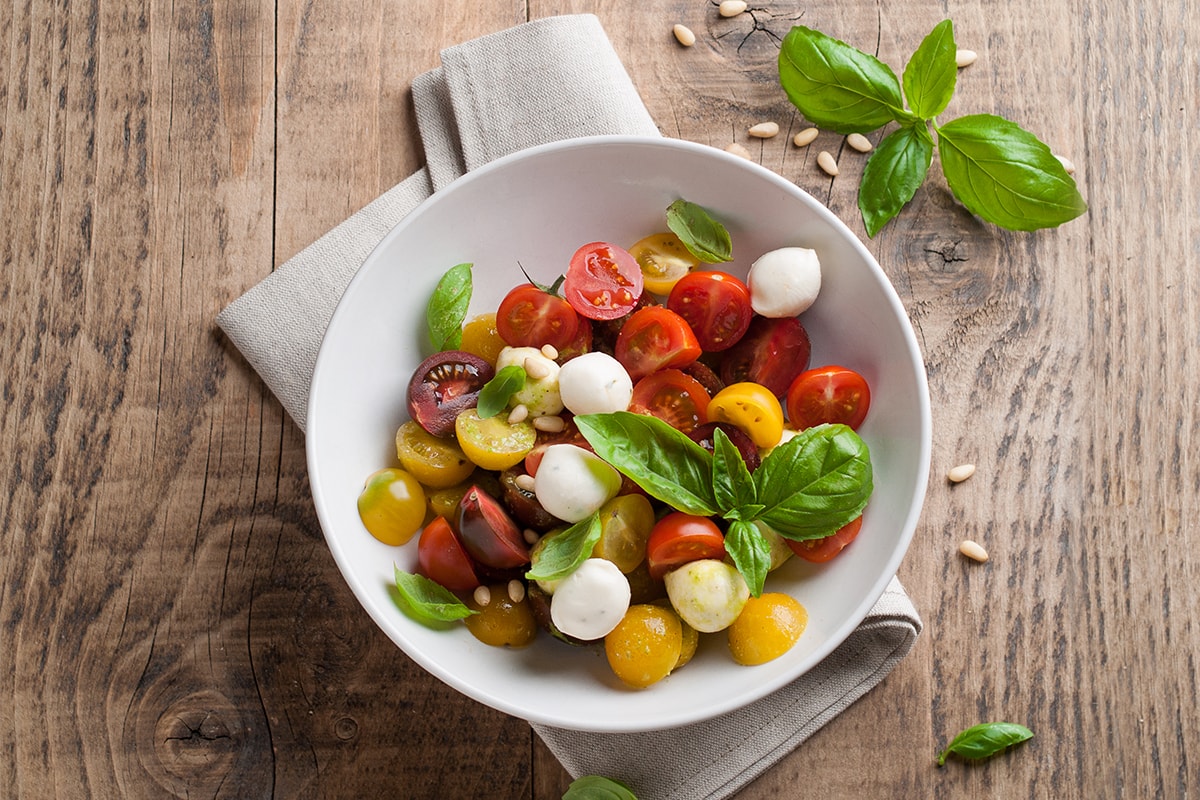
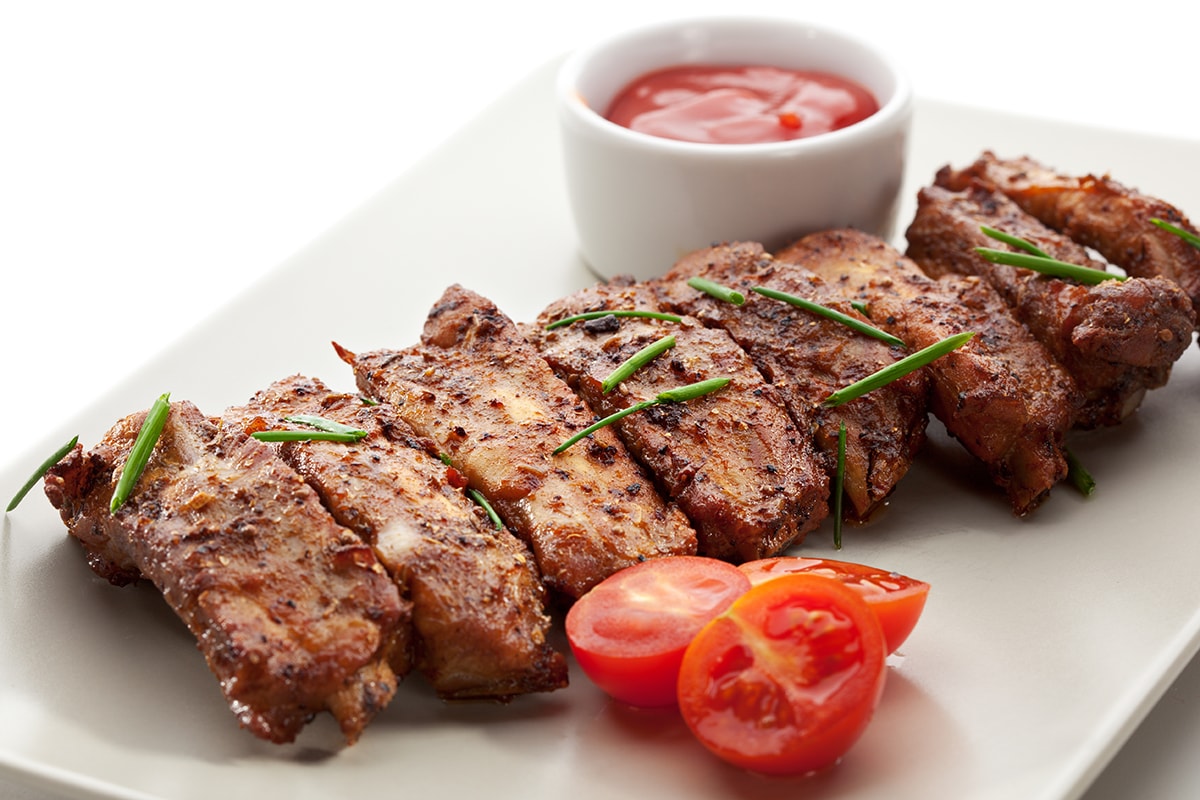
- The way food is served
The first thing we need to think about is the way we’re going to serve the food. Will it be on a plate, in a bowl, on some background or maybe on a tablecloth? Also, do we want only food in the photo or are we going to put some props around it, such as cutlery and a few extra details? So first we need to figure out what we want to show and how we want to show it. One of the most important things here is the background on which we’re going to place the setting. Today black, white and rustic boards are popular, but we won’t make a mistake if we use a wooden one.
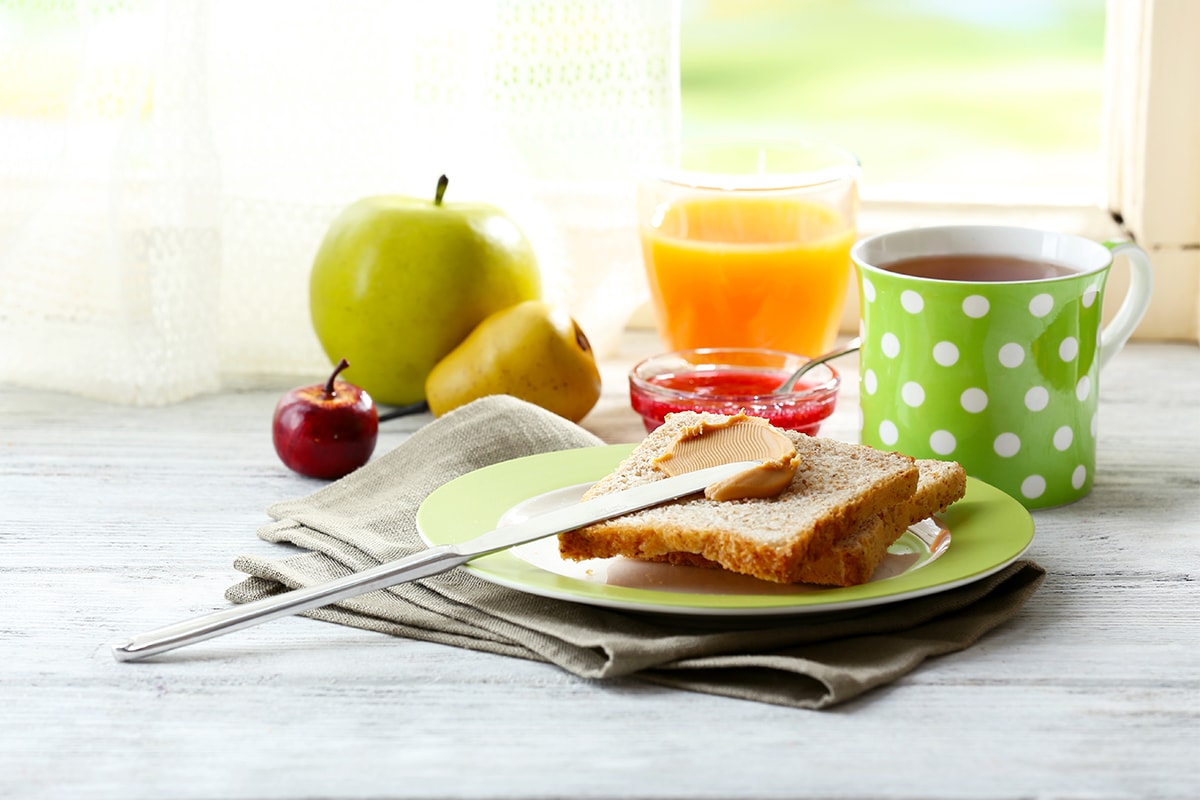
- Natural light
Light is one of the most important elements to consider when taking photos. We can have the most beautiful food setting ever but, if the lighting isn’t good, a shot can be completely ruined. Natural lighting is always the best. So, if we’re in a position to place the setting by a window, we’re on the right track because that’s how we’re going to get that soft, non-direct light. This way we’re going to prevent losing the natural colours of food.
- Image stabilization
It’s very simple – if we don’t want our photos to be blurry, we need to stabilize our camera.
Professional photographers use camera stabilizers or tripods. That way they can set the height of the camera and the view angle. But if consider photography to be a hobby, it will be enough if we place our camera on some stable surface, using maybe a few books underneath to ensure the right height. Most of today’s smartphones have cameras of great quality so we’re actually able to take really good photos with them as well. There are small tripods, that are also very cheap and easy to find, that can be used instead of much more expensive professional ones.
- Macro photography
When taking photos of food, it’s desirable to use a macro lens because it enables us to magnify the food in such a way that it seems like we’re actually ‘entering’ that delicious bite. With a macro lens we can sharpen the picture from small distances and get a bigger frame of a small bite. Today’s cameras all have the macro function in their settings, including most smartphone cameras. Also, the camera angle is very important when taking photos of food. In practice, the best food photos are those taken from above or from the side. Plus, it’s good to remember that the concept we see in our head might not always make the best photo so it’s good to take photos from various angles and then choose the best one.
To summarize – we need to pay attention to food setting, think about the decoration (the background, the surroundings, the details), natural lighting, camera stabilization and we need to be creative and quick!